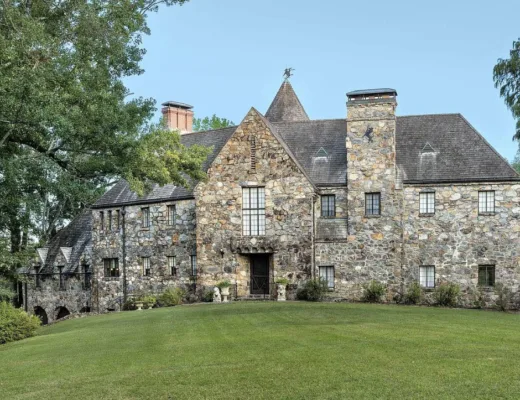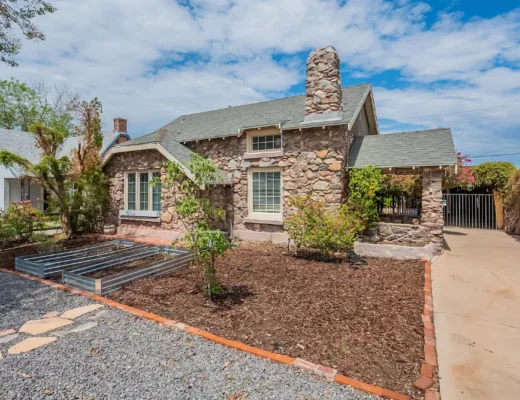
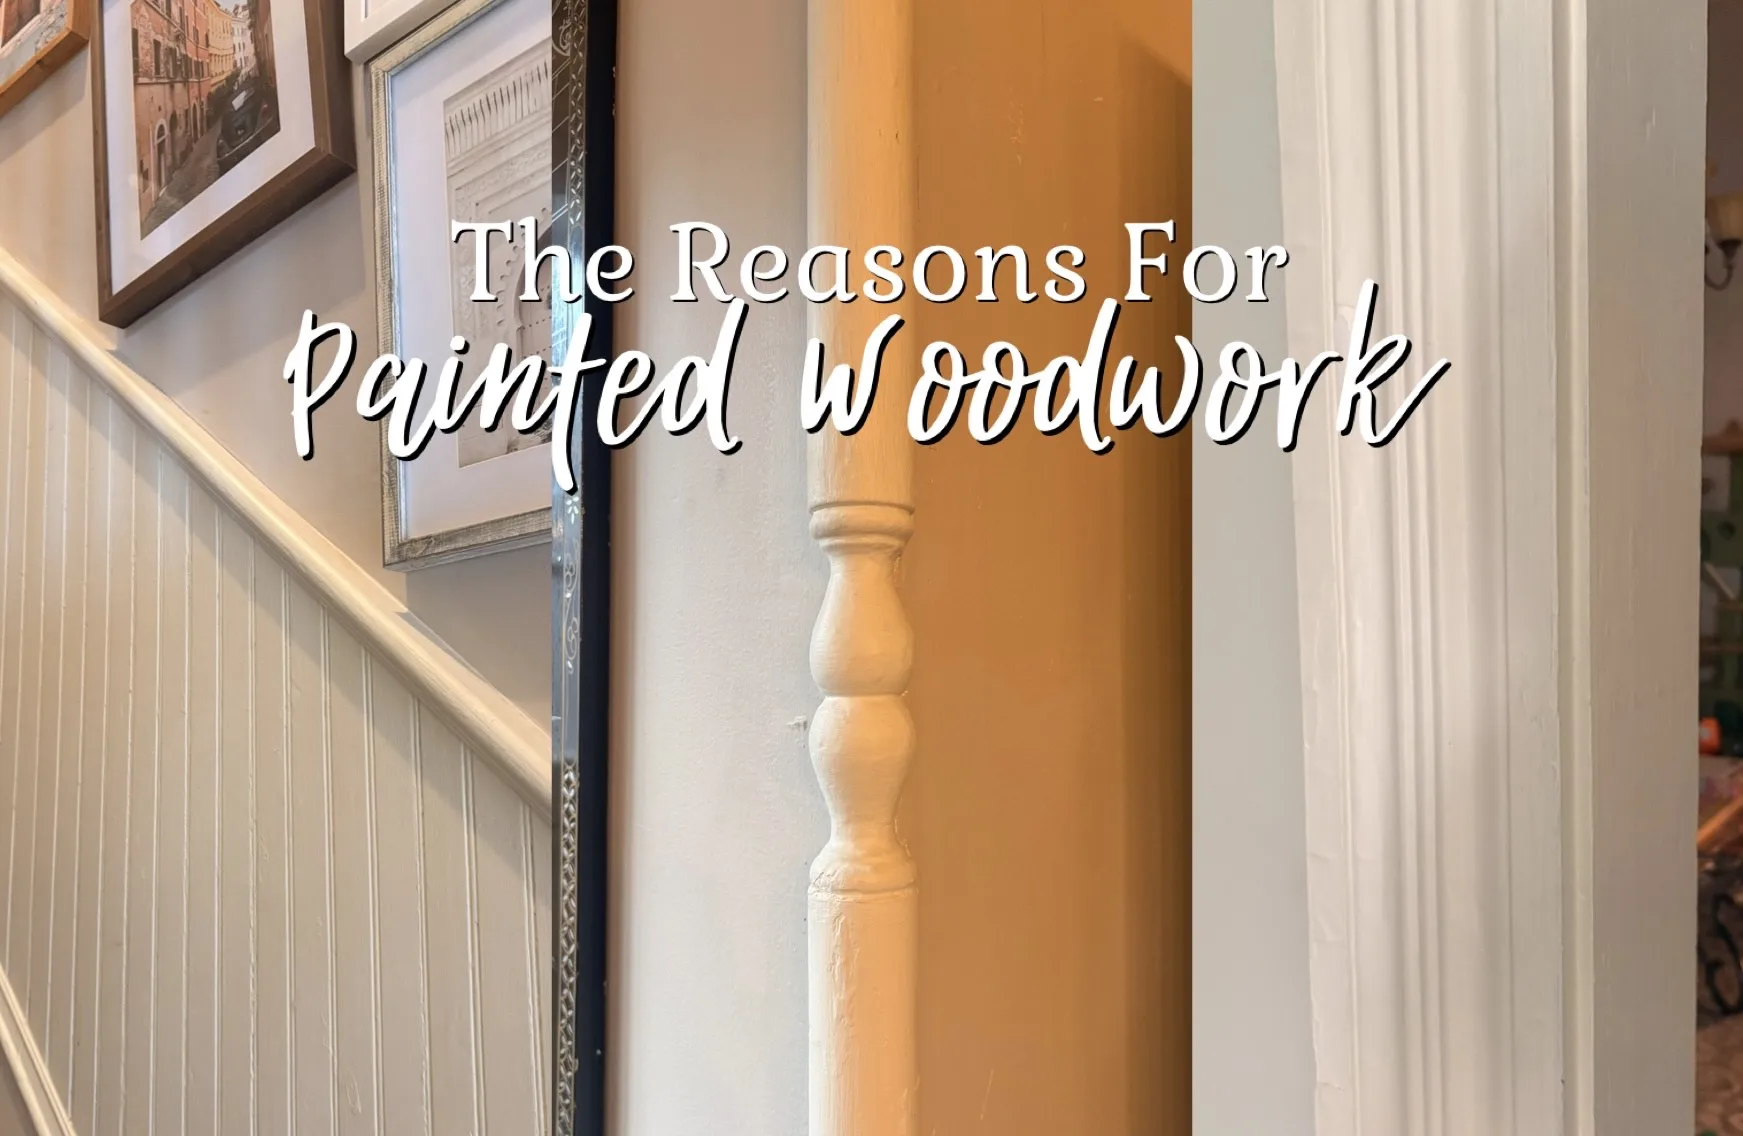
If you’ve spent time in an old house or even just scrolling through Zillow, you’ve probably seen layers of paint on doors, mantels, or baseboards and wondered: Why would anyone cover that beautiful wood? OR Ugh! Painted woodwork!
The truth here is, painting woodwork wasn’t just a careless decision — it was a practical and often fashionable choice for generations of homeowners. Let’s read through the reasons woodwork would be painted and how those choices shaped the look of historic interiors.
Hiding Lower-Grade Lumber
Not every board was cut from flawless mahogany or oak. In many houses, builders saved their best timber for furniture or formal rooms and used inexpensive, knotty pine or poplar for trim elsewhere. A coat of paint made humble boards look smooth and uniform, helping rooms feel more polished.
Protecting Against Wear and Moisture
TODAY we have pressure treated wood, which is less susceptible to moisture, but that wasn’t the case a century ago. Paint acts like armor for wood. In busy hallways, kitchens, and bathrooms, a few coats of oil or milk paint kept surfaces washable and helped prevent rot, stains, and insect damage. It was one of the smiplest ways to make woodwork and internal parts of the house last.
Concealing Repairs and Additions
Old houses evolve. When a baseboard got patched or a door casing was replaced, painting everything the same color hid mismatched wood or tool marks, giving trim a clean, seamless look.
A Mark of Style and Status
Did you know…bright pigments signaled wealth before mass produced paint lowered costs!
Color could signal taste and prosperity:
- In the 1700s and early 1800s, deep earth tones or glossy black mantels were chic and showed you could afford pricey pigments.
- By the late Victorian period, eleborate paint schemes — sometimes three or four colors on a single piece of trim — mirrored the ornate architecture of the day.
A Sense of Hygiene and Modernity
When plumbing and eletricity became standard in the late 1800s and early 1900s, homeowners embraced light-colored trim. White or cream woodwork made rooms brighter and was thought to be cleaner and healthier. A quick wipe with a damp cloth kept it fresh — perfect for an era obsessed with sanitation.
Shifting Trends Through the Years
Finishes in old homes have always followed the fashion of their day.
- In the Colonial and Federal eras, dark varnishes and rich stains were the norm, giving trim a warm, polished look.
- By the Greek Revival and Victorian periods, paint took center stage — bright whites and layered colors fit right in with the grand architectural details of the time.
- When the Arts & Crafts movement arrived, homeowners embraced natural wood again, celebrating the beauty of oak and other fine hardwoods.
Just like wallpaper or furniture, wood finishes went in and out of style. The laters you uncover today are a timeline of changing tastes.
The Takeaway
Painted woodwork is part of an old home’s story. Sometimes it protected lower-grade wood, sometimes it hid repairs, and often it simply reflected the fashions of its day. When you uncover layers of paint during restoration, you’re peeling back history — not undoing someone’s mistake.
If you’re deciding whether to strip, repaint, or leave painted trim as-is, think about your home’s age, its original finishes, and how each layer tells a piece of the past. If you’re curious which paint stripper to choose, check out our article by clicking here. We tested a few of the most popular options.
Before you go, here are some restoration tips:
- Test for lead paint. Many layers of historic paint contain lead. Use and EPA-approved test kit before sanding or stripping, and wear proper protection if lead is present.
- Take a gentle approach. Clean trim with mild soap and warm water before making bigger decisions. Sometimes a good scrub is all paint needs!
- Know what’s underneath. Paint often hid knots or tool marks in a budget wood. If you strip everythng you may find lumber that was never meant to be bare — decide if that’s a look you’ll love!
- Consider breathable finishes. If you repaint, stick to high-quality, low sheen paints or traditional formulas (like milk or linseed-oil paint) so wood can “breathe”.
- Take your time. Whether you’re touching up or stripping, work in small sections. Rushing can gouge soft wood or leave uneven layers.